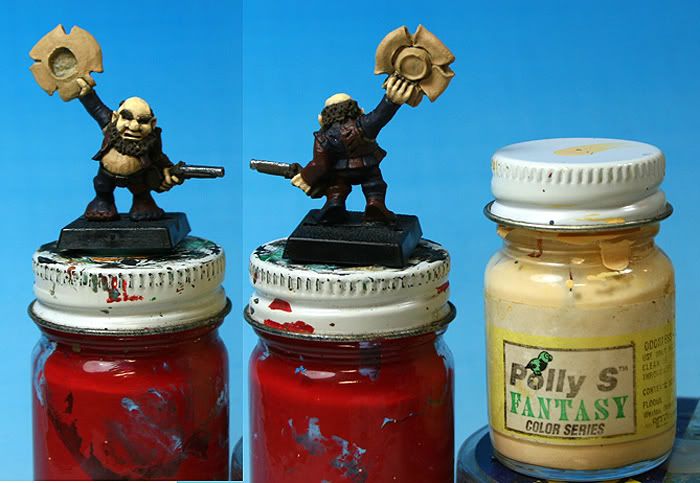
Welcome to the second installment of my figure painting walk through.
To this point I've gotten base colors blocked in on all portions of the figure and highlighted the flesh tones up through 4 levels. Now I will switch my attention to the larger blocks of color...starting with the white elements. (Please remember to click on the images for a larger picture)
If you will recall the "white" areas were base coated with a mix of VMC Buff (976) and PollyS Canine Yellow Brown. For the next step I go with straight Buff.
These areas were then washed with Citadel Gryphonne Sepia...being careful not to allow it to run into areas that I don't want to shade....like the rest of the model!
I then go back and re-highlight with Buff again
Now its time to start bringing this up towards pure white. The next step involves a layer that is a mix of Buff and VMC Off-White (820). And then a coat of pure Off-White...which I forgot to take a picture of...sigh...I was doing so well!
...and finally a coat of pure white on the very "highest" portions and along the raised edges of the hat and shirt. My white is another of the artifacts from my youth...a bottle of PollyS Dragon White.
Now that the white is out of the way I'll move onto the red sequence. Once again to back track abit...the base color for the red areas is a mix of two VMC paints...Red and Chocolate Brown. For the second highlight of the Red areas I used straight VMC Red (926). (note this layer was applied, and this picture taken, while I was waiting for the wash to dry on the white areas...hence the discrepancy with the white portions in this photo)
At this point I mixed 25% VMC Flat Red (957) into into the VMC Red and highlighted with that.
For the next layer I reversed my formula to 25% VMC Red (926) and 75% VMC Flat Red (957).
And for the final layer...straight Flat Red (957). Remember that Red paint in particular does not cover very well so...once again...more layers! Yes...MORE LAYERS...with the top coat I used at least 4 layers.
Alright...that brings us to a good stopping point for this post. The next post will focus on the Blue areas and the fiddly bits...beard...belt...pistol...and so on.
Cheers,
Blue


Great job Blue! A very helpful tutorial. Your brushwork seems much neater than mine so far! A couple questions you might answer in your next post:
ReplyDelete- when you paint layers, do you wait for one layer to dry completely before adding the next?
- what do you use as a palette for mixing your colours?
thanks Tim...Sure I'll cover those topics in my next post.
ReplyDeleteBlue